Photoshop Landscape Tutorials
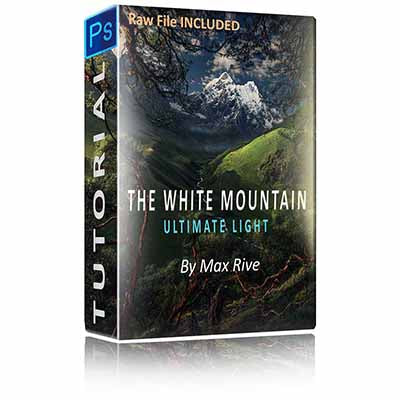
On this page you will find Max Rive's famous from Start to Finish Photoshop landscape tutorials. Each Photoshop landscape tutorial has been edited with Adobe Camera Raw and Adobe Photoshop. The editing tutorial will start with the Camera Raw editing - followed by his unique editing techniques in Photoshop. You will have a lifetime access to each Photoshop landscape editing tutorial - streamed from the fastest servers. You will also have the option to download each Photoshop editing video - including the RAW files.
Camera RAW

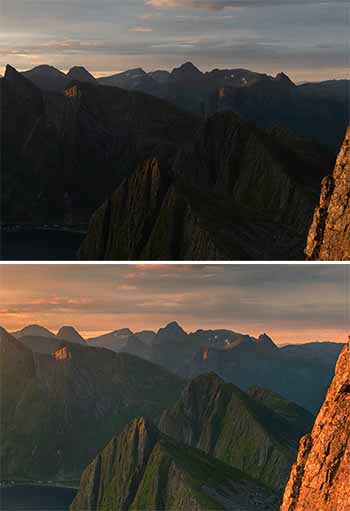
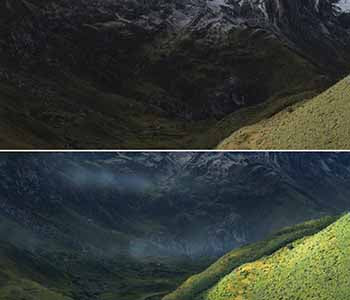
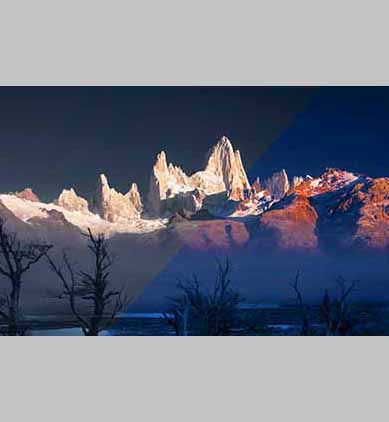
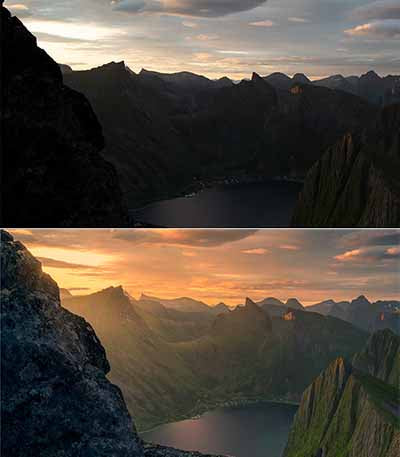
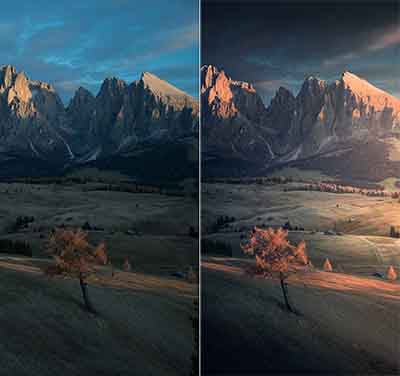
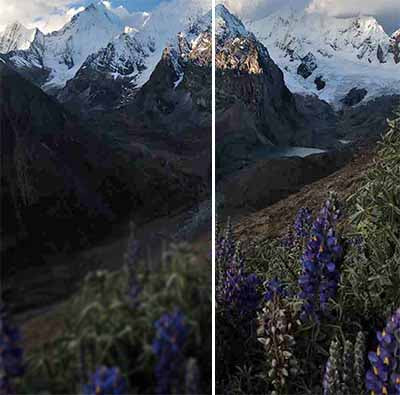
The Post-processing starts in Camera RAW in which Max Rive demonstrates his simple yet very powerful work-flow. With his unique exposure settings and color techniques, The RAW file - which is included with each processing video, will already look incredible after the Camera Raw editing. Max Rive will concentrate on the exposure settings, Photoshop Color techniques, use of digital ND-grad filters and radial filters. All these camera RAW editings will result in much better contrast, light and colors.
Adobe Photoshop

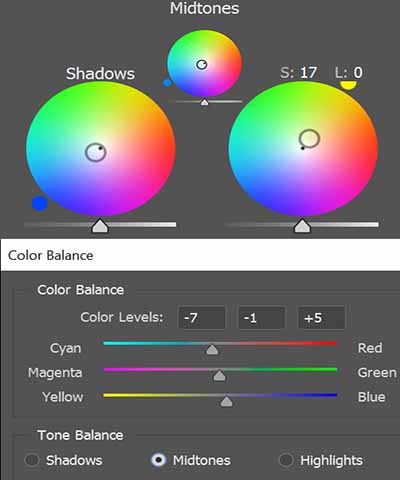
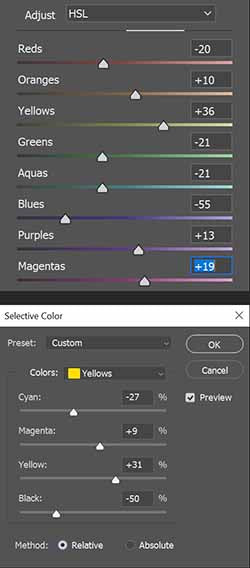
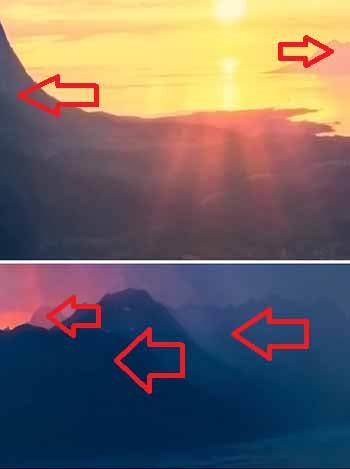
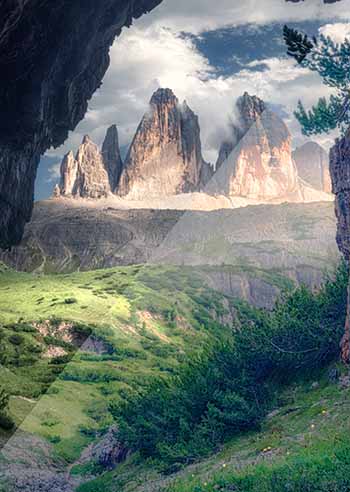
After the Camera RAW editing, the processing tutorial will continue in Adobe Photoshop. The techniques in this part of the tutorial will vary with each processing tutorial. This can be his Unique Contrast Control technique - in which Max Rive optimizes the light and contrast of the image. The result of this Photoshop editing technique is greatly improved light. Another famous technique is his selective color, color balance, and shadow-highlight color painting - all will result in the perfect color balance.
3D effect

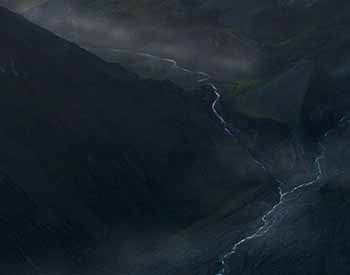
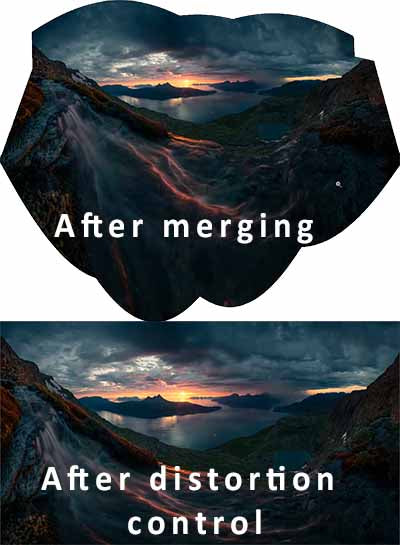
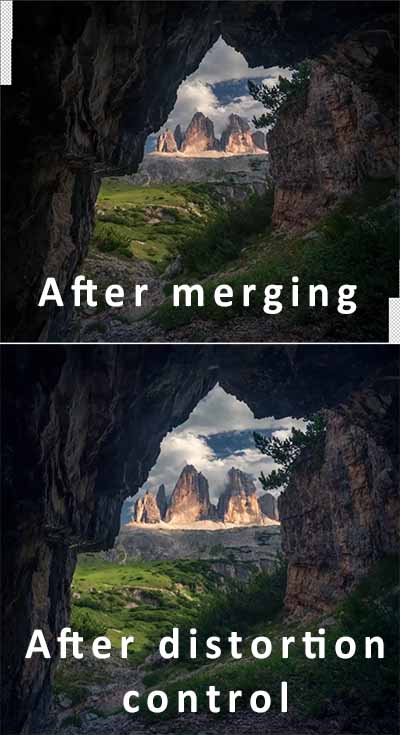
An in-depth demonstration in each Post Processing tutorial will be given about how to create a three dimensional effect on your images. Wen multiple RAW files are used Max Rive will demonstrate his creative way of focus stacking in that photo editing Lesson. Did you know that exposure blending in Photoshop can be done with only 1 exposure? - overexposed parts in the RAW can be fixed? - and that you can combine the best color settings with the clone stamp tool in Adobe Photoshop?

In each post-processing video, Max Rive will make his photo ready for Instagram. The techniques in each processing tutorial will vary with each editing lesson. This can be his Unique distortion technique and contrast and brightness adjustments in Photoshop. Other adjustments in the Photoshop tutorial can be the optimal color profile, the correct image resolution for your Instagram photo, and how to come up with the best composition and crop for your Instagram photo.